Introduction

GUI Calculator
Photo by: Shopify Partners.
Java is a high-level, class-based, object-oriented programming language that is designed to have as few implementation dependencies as possible.
It is a general-purpose programming language intended to let programmers write once, run anywhere, meaning that compiled Java code can run on all platforms that support Java without the need for recompilation.
Java was originally developed by James Gosling at Sun Microsystems (which has since been acquired by Oracle).
Task

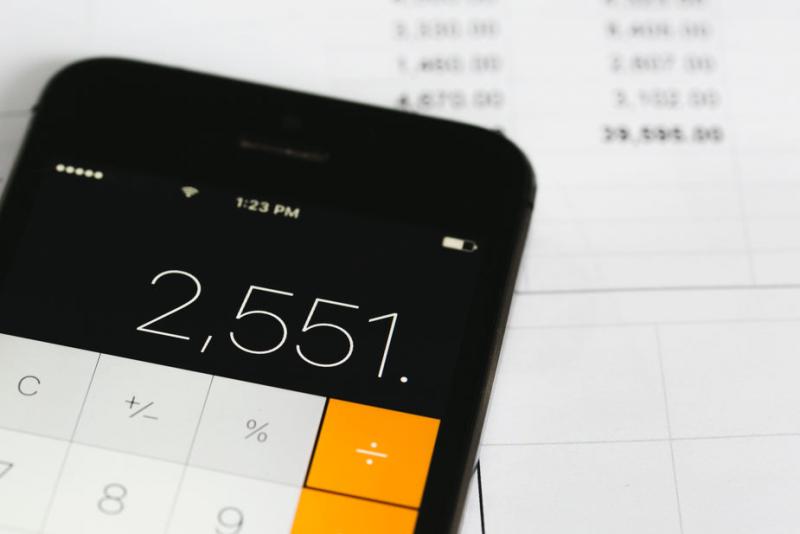
Calculator using Java.
Photo by: Wokandpix, Pixabay
A Maths class has run out of calculators!
Using Java, create a GUI-based calculator that the class can use while they wait for their replacements.
In this project we will:
- Let the user type in 2 numbers
- Allow the user to select an operator
- Perform the operation and display the result to the user
Extension
- Develop and create your own design for the calculator
Process
For this activity you will create a GUI calculator using Java.
You can either use your downloaded version of JAVA which you downloaded in the last activity "Introduction to Java" or you can use an online editor: Java Online Editor.
Before you start watch the video GUI Calculator Program in Java found in the videos section and read through slides 6-9 on the "GUI calculator" presentation in the documents section.
Ensure your file system is set up the following way:
Steps:
- Read through slide 10 and set up your class, main function and initialise the function.
- You need to understand what a GUI is, please watch the video What is a GUI and in the links section you can read about Graphical User Interface.
- The next step is on slide 11, you now need to set up your window thinking about the properties of the window. In the links section read How to make frames in Java.
- In step 3 you need to add components to the window which is shown on slide 12.
- In the next step you will be adding more components to your window making it more functional, the instructions are on slide 13. Next read about Action Listeners on slide 14. You can also read the link in the Links section Action Listener in Java.
- The next step is to add functionality to the buttons, read through slides 15 to 16. Read through the link Buttons, Check boxes and Radio buttons in Java in the links section.
- The final step is to add a clear button so that the previous calculation is cleared, read through slide 17. Read through the link Clear Button in Java in the links section.
- You need to check you code for errors, watch the video about Exceptions and in the links section you can read about Java Exceptions to understand errors that can occur.
The extension activity is to add colour to the layout of the calculator, read through slide 18 to complete this part of the activity.
Conclusion
Check you have achieved all the Learning Outcomes:
- Learnt how to create a Java project.
- Created a window.
- Taken user input using a GUI.
- Created functional buttons.
- Outputed information using a GUI.
Links to everyday life..
Calculators are everywhere! Not only in Maths class, but on your phone and your computer.
GUI-based applications are everywhere! They allow our programs to be more accessible by a wider range of users.
CONGRATULATIONS!
You have created your first GUI based calculator application using Java.
Next Steps:
Now look at the cross-curricula tutorials which include Sciences, Art and Humanties.
Resources
Click each section below to see all resources available.
Resources
Click each section below to see all resources available.


